|
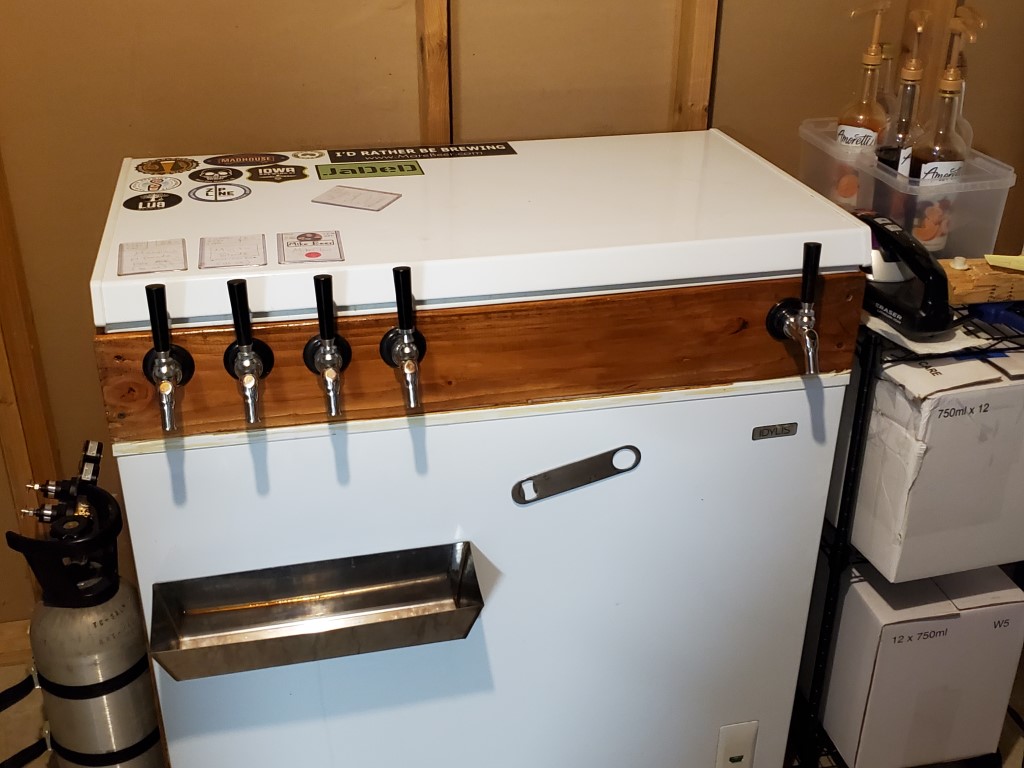
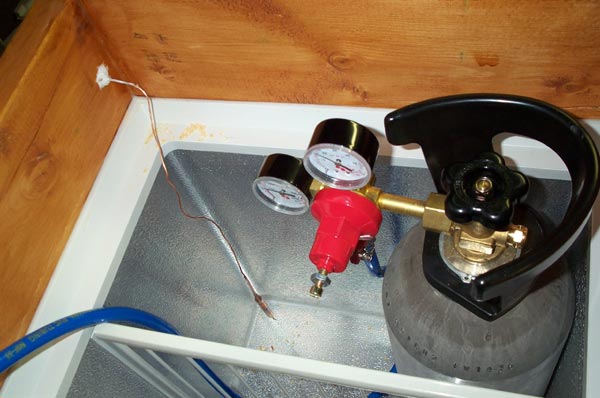
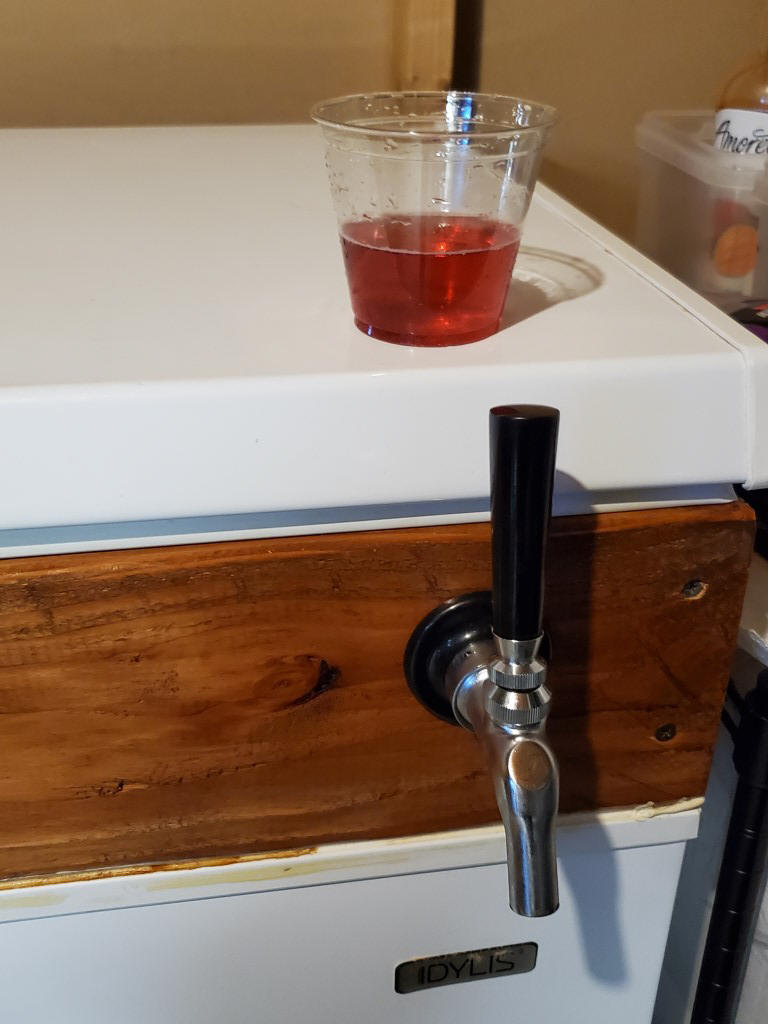
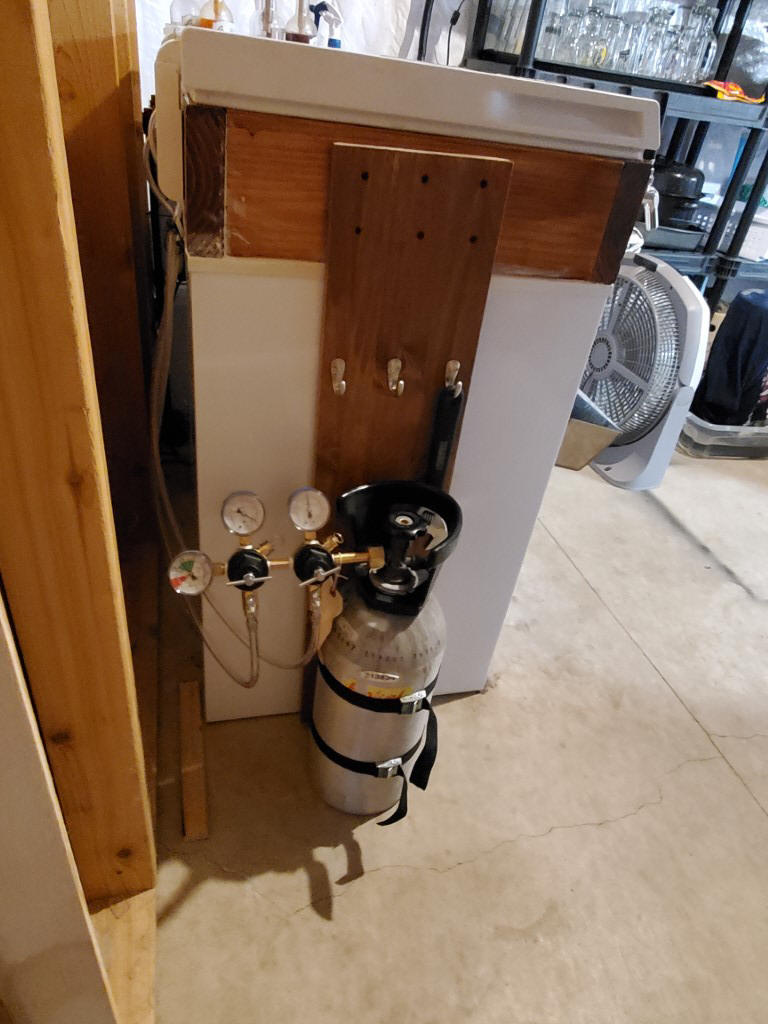
UPDATE (7/1/2021) - Added a 5th Tap & Moved
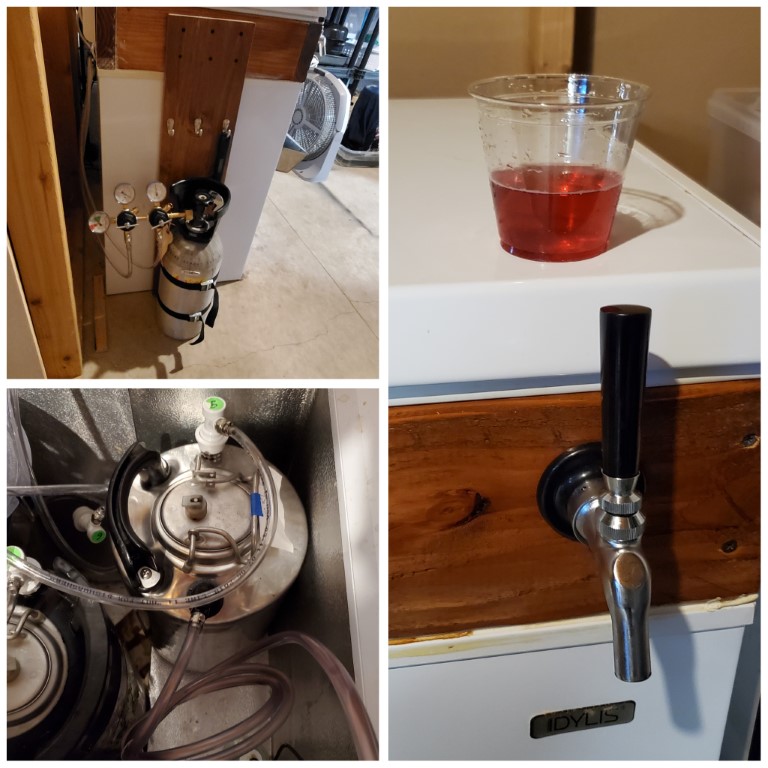
CO2 Tank Outside Keezer: I've been brewing some wines and
mead lately, and I thought it would be nice to have those on tap in
smaller volumes. After doing some measuring, I realized I can fit a
3 gallon keg on the keezer compressor hump if I move the CO2 tank
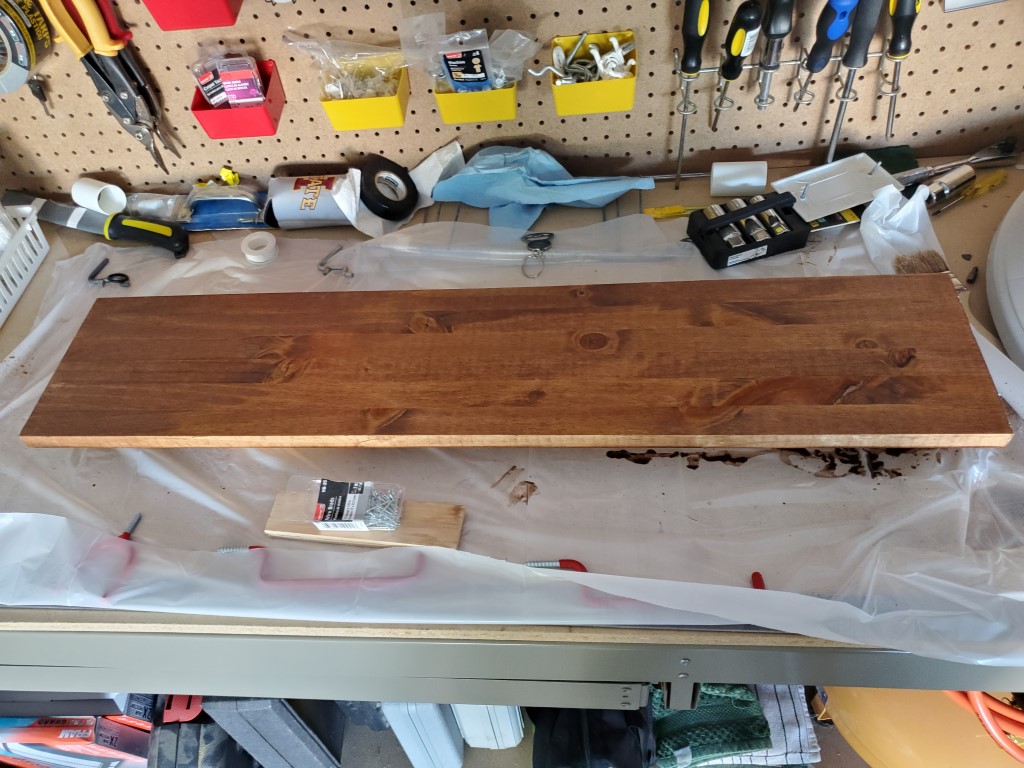
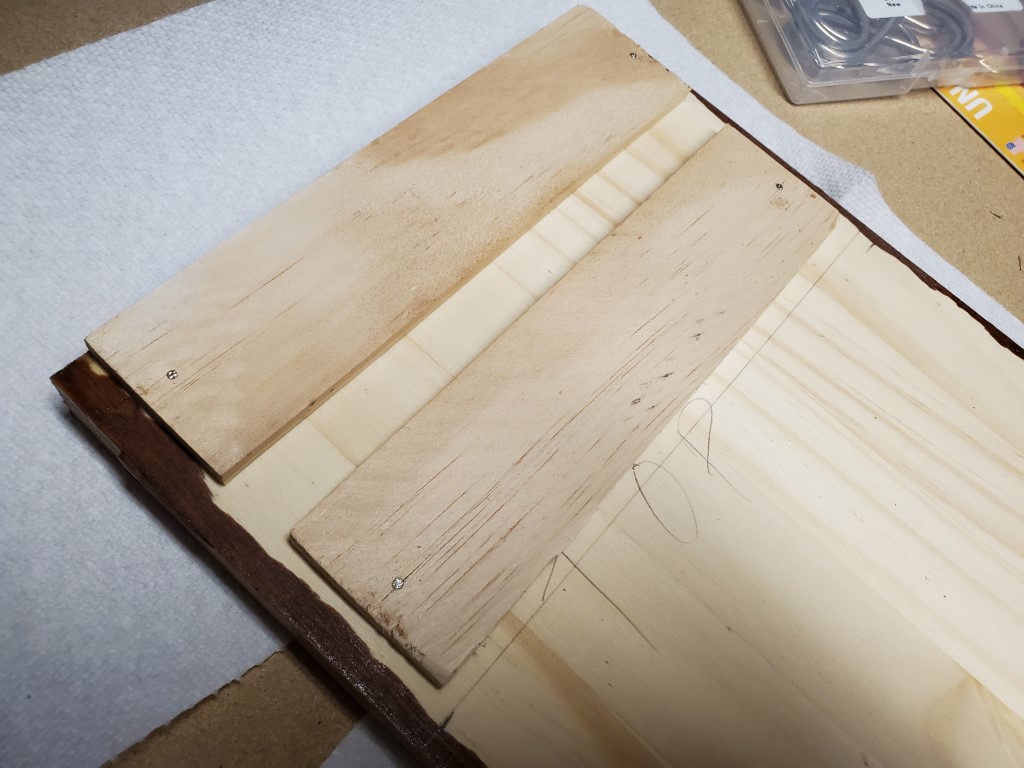
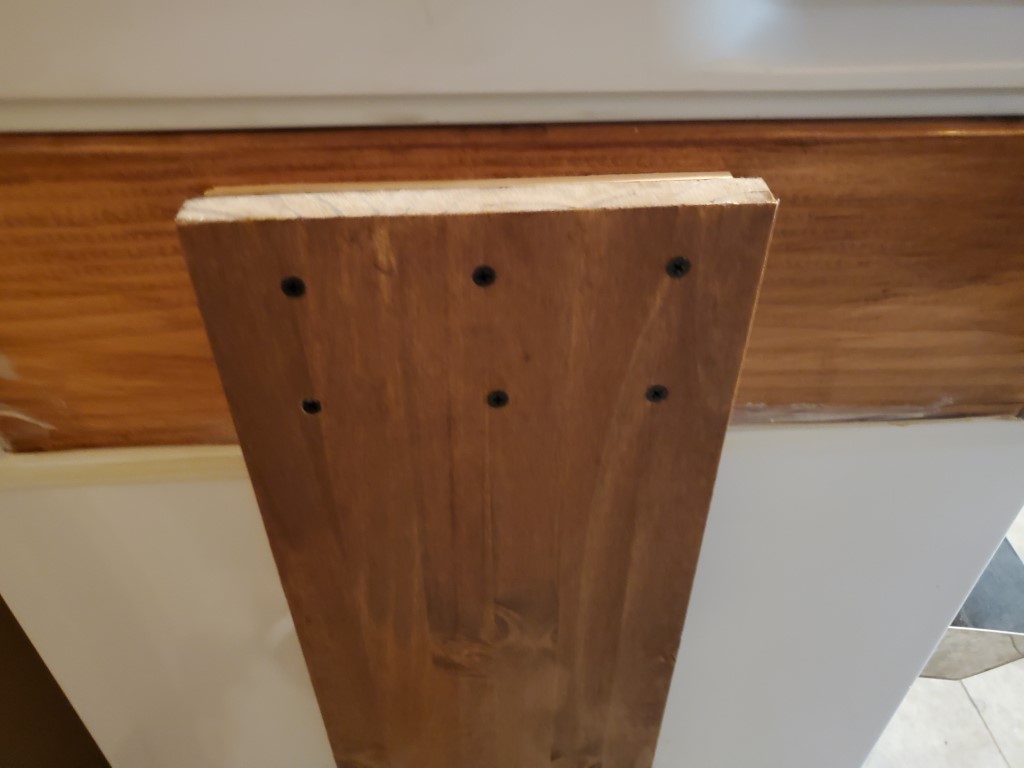
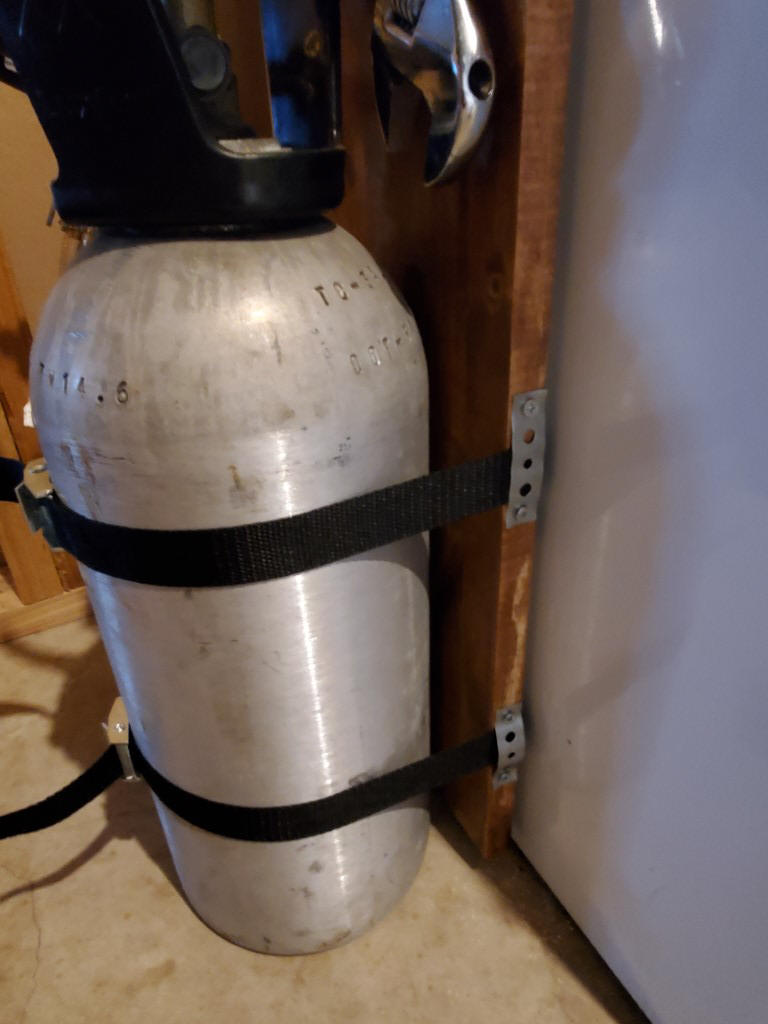
outside. So I added a wooden board to my collar to support the tank
with a couple adjustable straps and stained it to match. I also
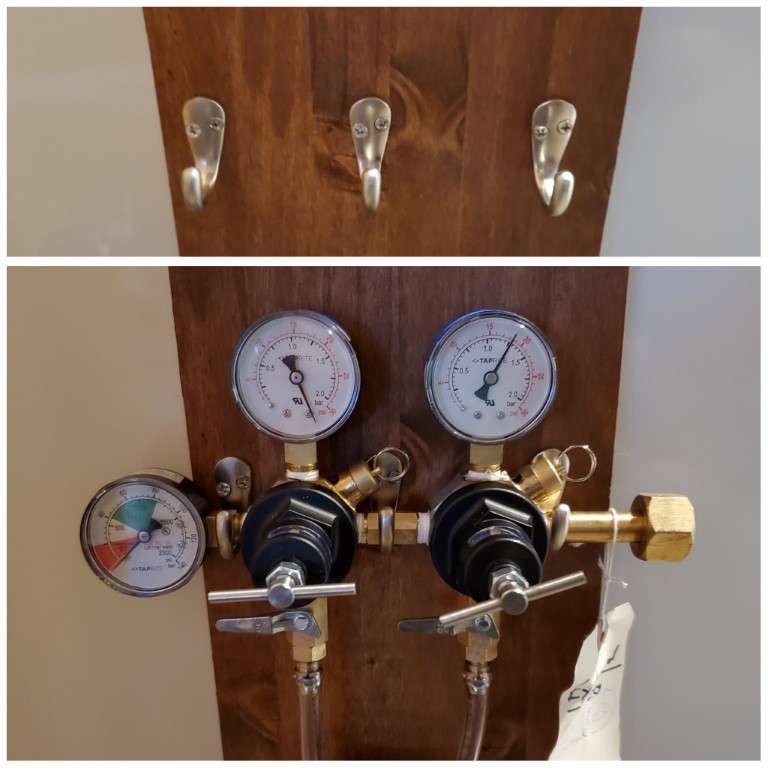
added a dual-pressure regulator for either using with my hard
seltzers at higher pressure, or at lower pressure for a wine that I
don't want to pick up too much carbonation while sitting at serving
pressure.
UPDATE (5/1/2020) - Easy Compressor Fix : I came downstairs to
pour a pint one day and noticed my kegerator was only cooling to 56
degrees! I thought it was dead, but based on a little online
research, I ended up finding a simple enough fix that everyone
should try before scrapping your keezer/kegerator if the same thing
happens to you. Check out my fix
HERE.
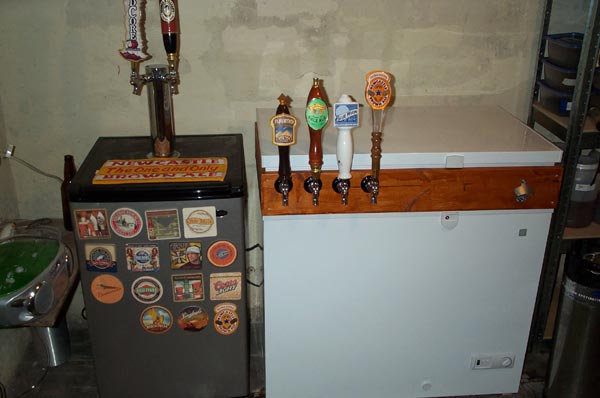
UPDATE (9/6/2017) : I'm back to the
keezer after moving into a new house. The build process was
exactly the same as the previous ones, except I went with a digital
temp controller on this one. I added the link to that on the
parts list below in case you're interested. I prefer the
digital version to the analog, but both work very well overall. I've added a few pictures of the
build below.
UPDATE (5/14/2015) : Sold the Keezer
to a fellow homebrewer, so I'm down to "only" the
Fridge Kegerator and five taps.
Nine beers on tap was just a bit too much now that we're having less
people over to the house.
UPDATE (2/1/2010) : The original GE
7 cubic foot freezer I used to build my chest freezer kegerator out
of ended up taking a crap on me. The new one I purchased from
Sam's Club ended up being about 1" narrower than the previous model
I had purchased. I was still able to fit 4 kegs into the
freezer, but it was a MUCH tighter fit. Looking back, I
probably would have shopped around for a different model that had a
little more room. Check out this forum post about different
models of freezers and how many kegs they hold:
http://www.homebrewtalk.com/f35/sizing-your-chest-freezer-corny-kegs-75449/#post790572
2017 Keezer Build
After building a Sanyo Kegerator and getting a
lot of use out of it, I realized that I needed a wider variety of
beer on tap. I did a little research on the Northern Brewer forum
as well as some Google searches to find examples of what I was
looking to build. I ended up getting a 7.0 cubic foot GE chest
freezer from Sam's Club for $177 plus tax that would fit 4 corny
kegs comfortably. If you are unsure how many kegs a particular
model of chest freezer will hold, I suggest you make paper cut-outs
of the base of your kegs and place them inside the freezer to test
it out.
I considered two methods for dispensing beer with
a chest freezer. The first was to mount two draft towers with two
taps on each tower which can be seen
HERE. This would require drilling into the lid of the
chest freezer and bracing the towers with some kind of wooden
support from below. The other option is to build a wooden collar
out of 2”x wood of your choice which can be seen
HERE. The taps can then be mounted
through the wood collar and no permanent damage is done to the
freezer. I chose the second method because it seemed like the most
logical way to go about building a kegerator. If the freezer quits
working, I can take off the collar and the freezer is back to its
original configuration. Here's what I came up with for the
final price of the Chest Freezer Kegerator:
|
Part |
Link |
|
GE 7.0 Cubic
Foot Chest Freezer |
Sam's Club |
|
4 x
Forward-Seal Faucets |
Amazon -
LINK |
|
4 x 3.5" Shanks w/
Nipple Assemblies |
Amazon - LINK |
|
20 Feet 1/4"
Vinyl Gas Tubing |
Amazon -
LINK |
|
100 Feet 3/16"
Beverage Tubing (cut what you need) |
Amazon - LINK |
|
4 x Liquid Quick
Disconnects |
Amazon - LINK |
|
4 x Gas Quick
Disconnects |
|
6-Way Gas
Manifold |
Amazon - LINK |
|
10lb CO2 Tank |
Amazon - LINK |
|
Double Pressure Dual-Gague Regulator |
Amazon - LINK |
|
Digital Temperature Controller (1st
choice) |
Amazon - LINK |
|
Analog
Temperature Controller (2nd choice) |
Amazon - LINK |
|
Other Parts
(Wood, Stain, Silicone, Screws, Hose Clamps) |
Lowe's |
After unpacking the chest freezer, I removed the
lid and measured the top so I could build a wooden collar to mount
my taps through. I decided that I would use 2”x6” pine to build my
collar. My first attempt at building a collar didn’t work out so
well. I tried using 45 degree miter cuts to give the collar a
cleaner look, but my cuts must not have been exactly 45 degrees
because my collar wasn’t square. After wasting a night messing with
that, I went back to Lowe’s and had them cut the wood square for me
so I wouldn’t have to mess with it at home. When I got home, I
realized that the kid at Lowe’s cut two of my boards too short, so I
made another trip across town to get the right sized wood.
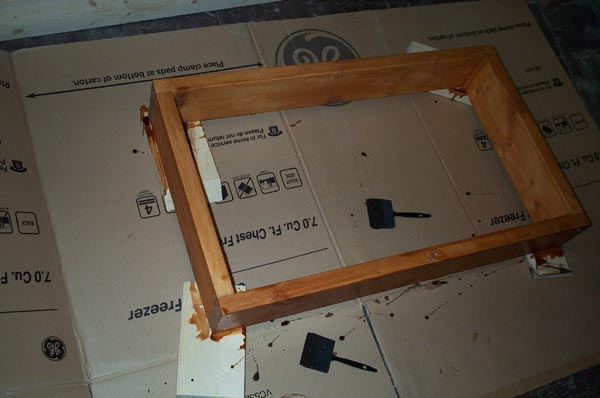
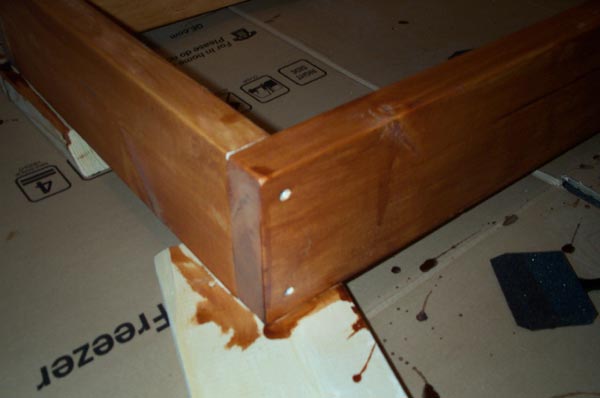
I held the wood together with miter clamps and
used two 2.5 inch screws on each joint to hold everything together.
I probably should have used some wood glue in between each piece,
but I didn’t. I did a little finishing sanding and rounded the
edges of the collar in order to get it ready to stain. The stain I
used supposedly had polyurethane in it so it was a one coat type of
thing, but I ended up putting on two coats just to be safe. Here
are some pictures of the collar as it was drying.
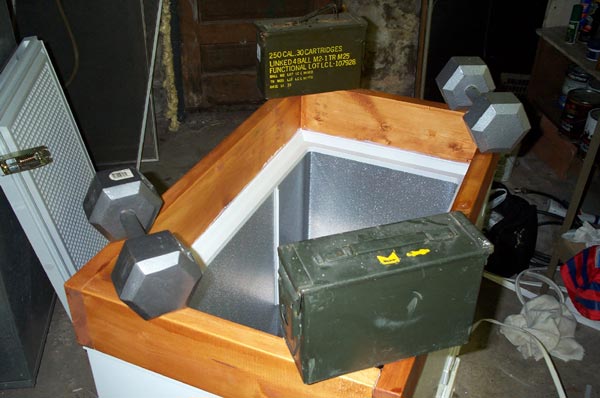
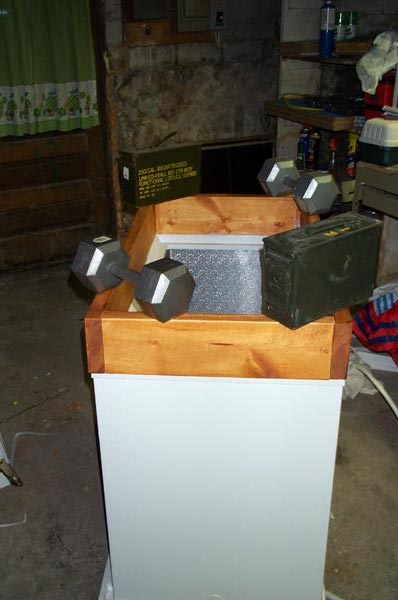
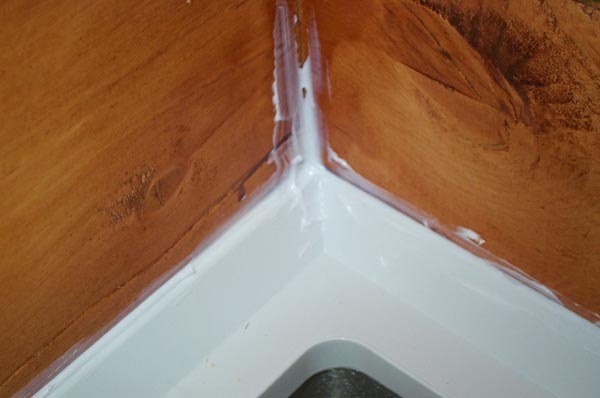
After the collar had dried overnight, I put it on top of the freezer
to make sure it was square. Once this was done, I laid down a thick
bead of silicone all the way around the freezer and put the collar
on top of it and weighted it down with some dumbbells and ammo
containers. To ensure a tight seal and good insulation, I used
silicone to seal up all the seams on my collar and also where the
collar met the freezer. Since some people on the Northern Brewer
forum stated they had rust issues in the metal seams of the freezer,
I also sealed up the bottom of the freezer to prevent this from
happening.
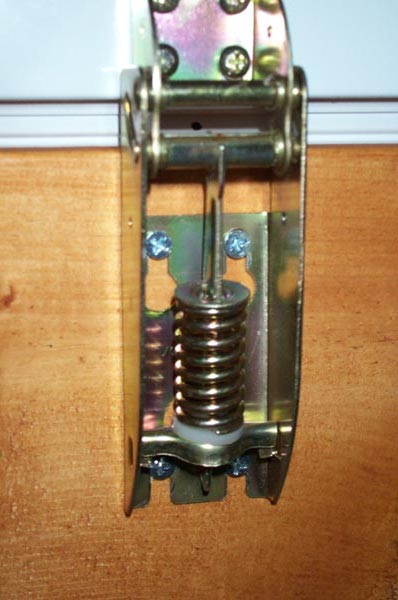
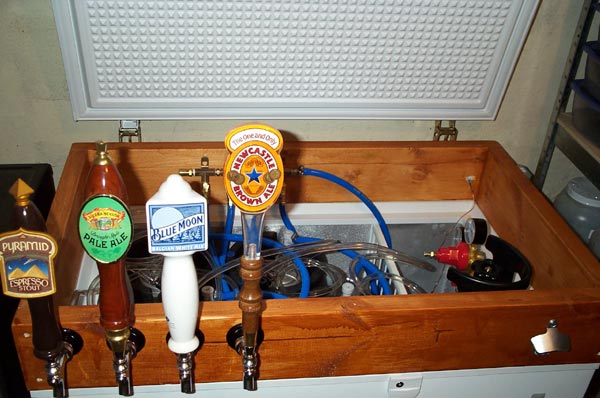
Once the silicone had dried overnight, I positioned the lid on the
collar and screwed in the hinges using 1” wood screws. Here are a
few pictures of what it looked like.
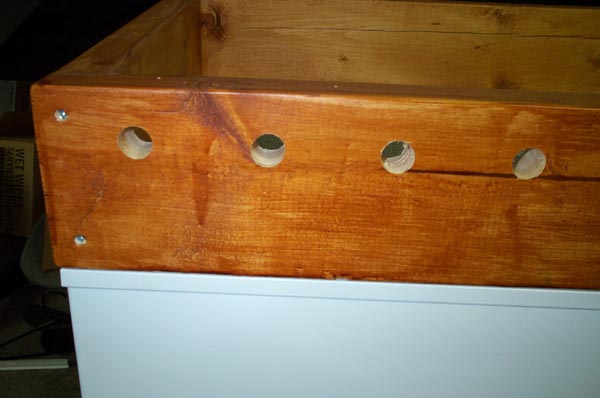
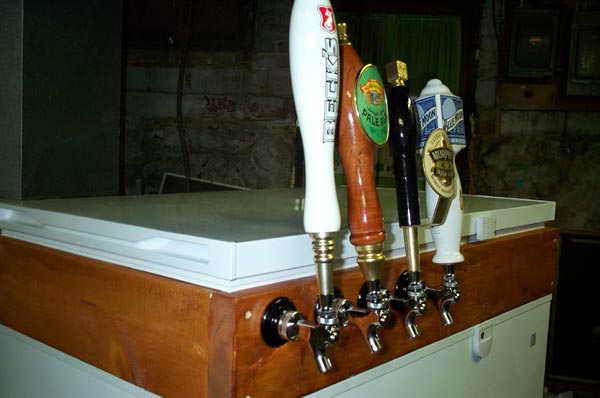
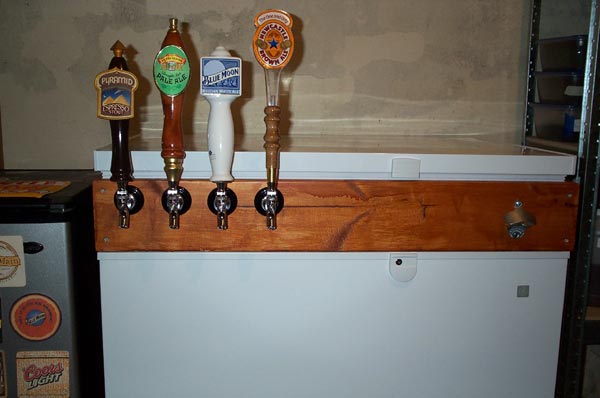
Now that the freezer was starting to look more like what I was
aiming for, I figured I’d better get the taps mounted. I decided to
drill my holes towards the top of the 2x6 so I wouldn’t have to bend
over as much when I was pouring a pint. I may have to build a
wooden base to rise up the freezer for better access later. I used
a 7/8” drill bit to make the holes through the collar and that
provided a very snug fit against the shanks.
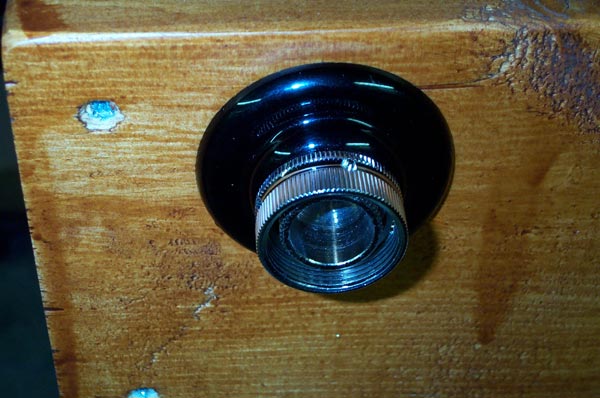
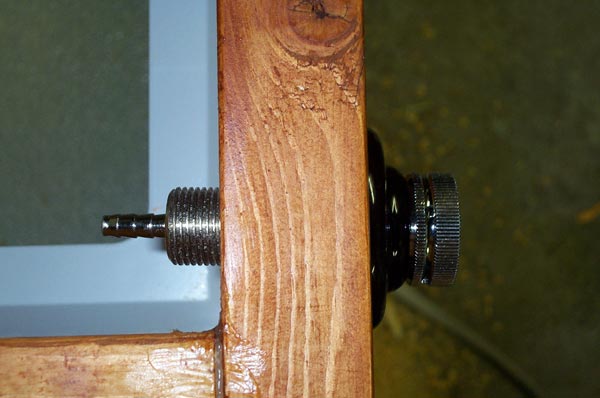
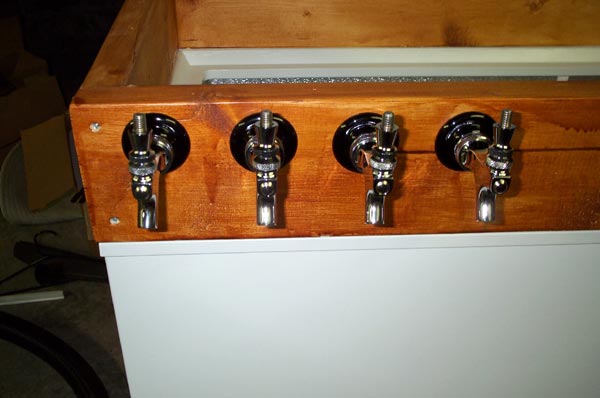
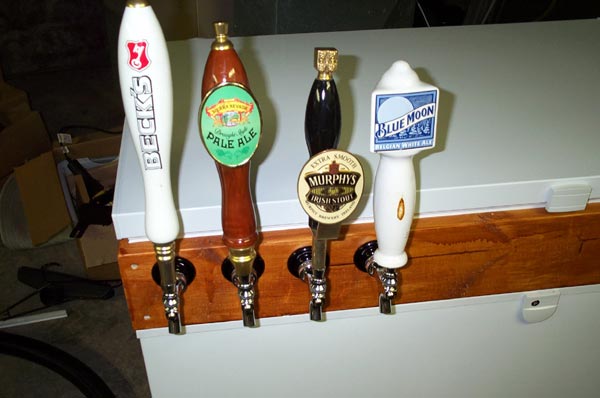
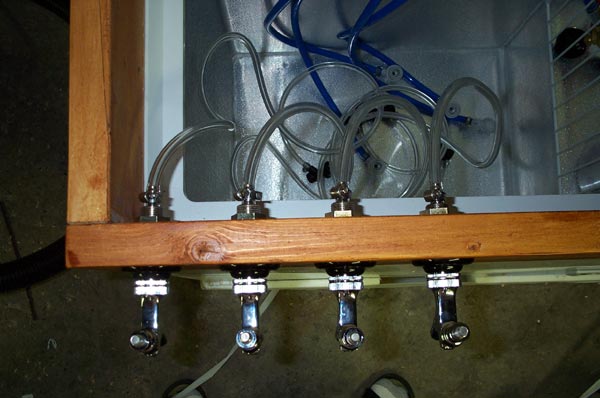
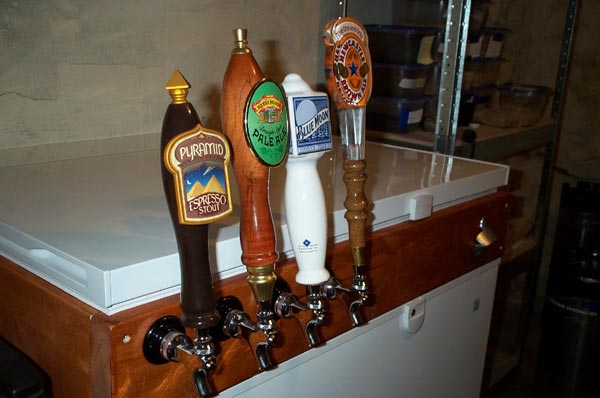
After measuring twice and drilling the holes, I inserted the 3”
shanks and attached the faucets. If I were to go it again, I would
have purchased 4” shanks instead so I would have a little more
working room. With my 3” shanks, I can’t build an overhanging
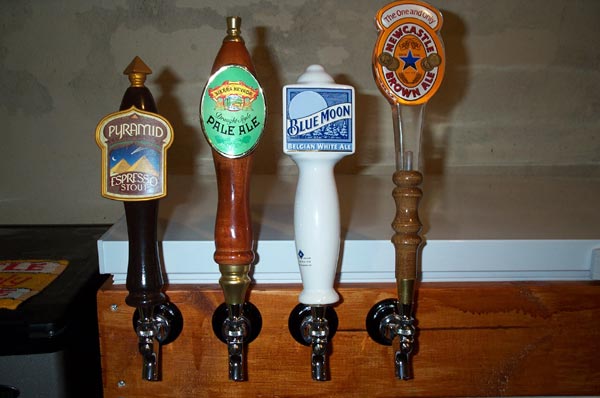
collar like others have done to provide a more stable collar. I
took this opportunity to put some tap handles on the faucets and
snap some shots of what the finished project would look like.
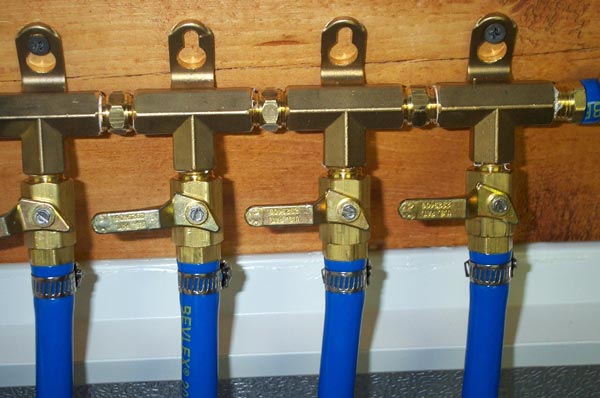
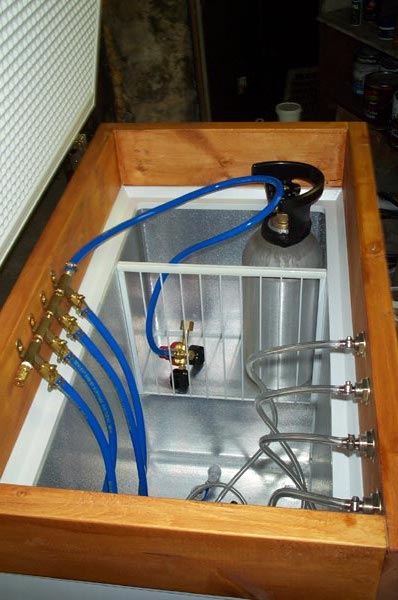
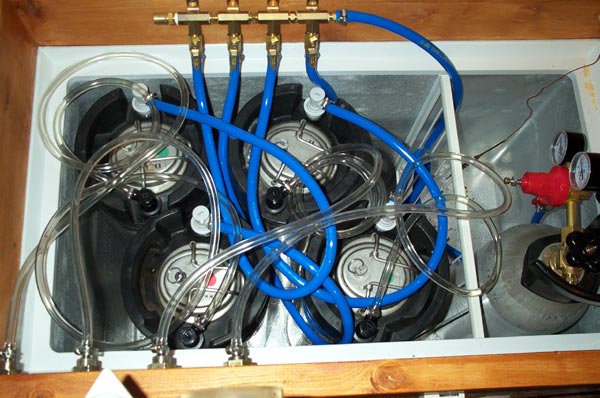
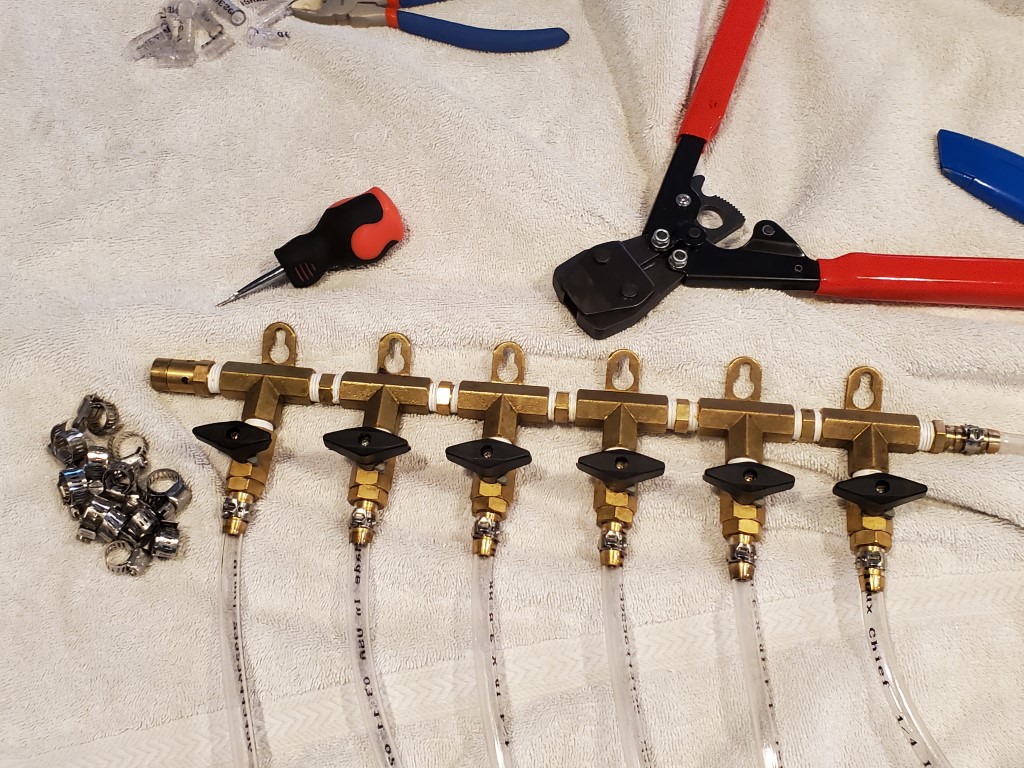
Next came the gas setup. I used a 4-way gas manifold from MoreBeer
since I was planning on using 4 kegs. I would have purchased a
5-way but they didn’t have one. An extra CO2 line is always handy
for quick keg carbonation or running cleaning solution through your
lines. For my gas lines, I used 5/16” blue tubing from The Beverage
Factory. I figured that 4’ of tubing for each keg would be plenty,
so that’s what I cut them to. One “issue” I ran into with the
tubing was that the quick disconnects were ¼” and the tubing was
5/16”. The hose clamps I purchased from Menards weren’t the best
quality, and when I tried tightening them down hard, they would
slip. I ended up using some clamps that I had purchased from Lowe’s
on the ¼” quick disconnect barbs. These clamps had smaller notches
in the metal so they tightened down without any problems. Another
positive for bulidng a collar was that I could fit my 10lb CO2 tank
inside the freezer without a problem.
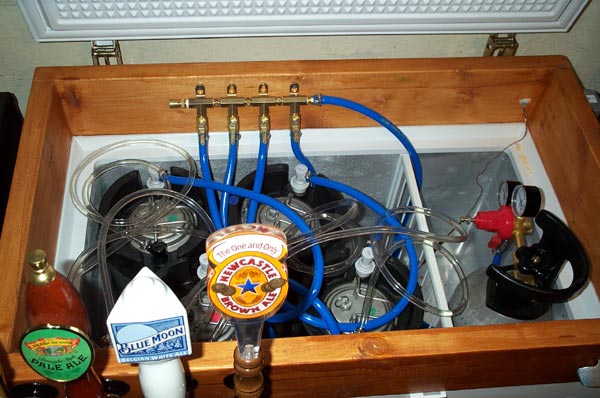
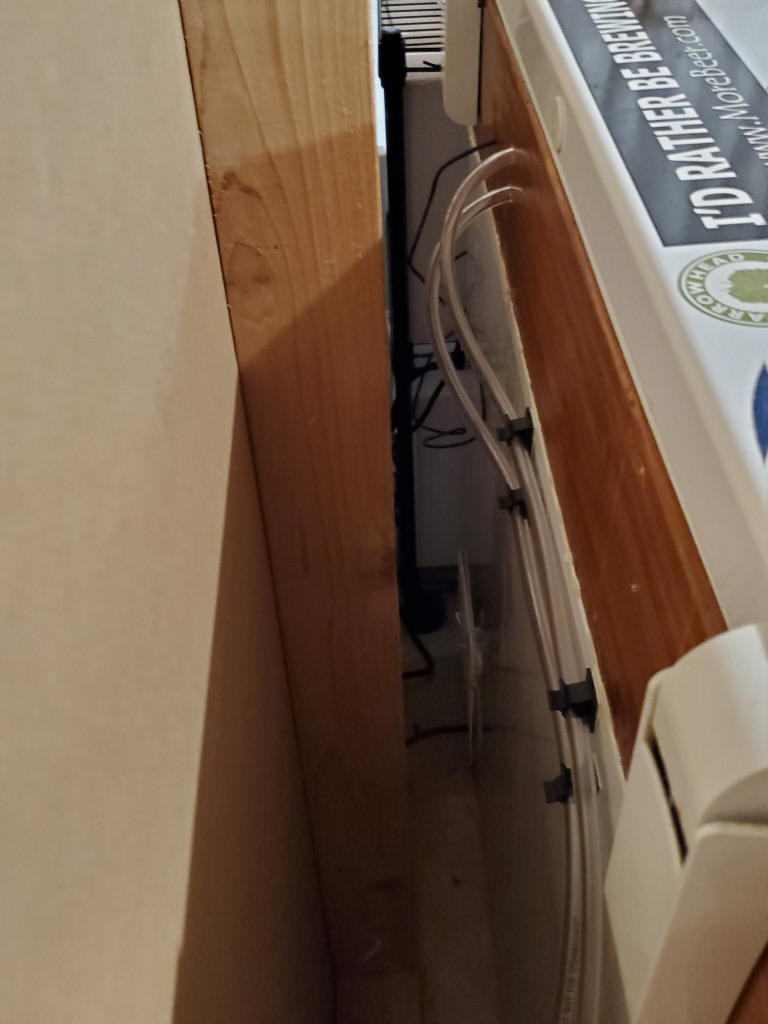
After the gas lines were installed, I attached the beer line to my
shank barbs. The beer tubing was 3/16” inner diameter, and the
barbs were ¼” which made for a very tight fit. I found that soaking
the end of the tubing in hot water made it much easier to put on the
barbs. I used 5 feet of tubing for each tap and plan on setting the
CO2 at 10-12psi. This makes for a balanced system.
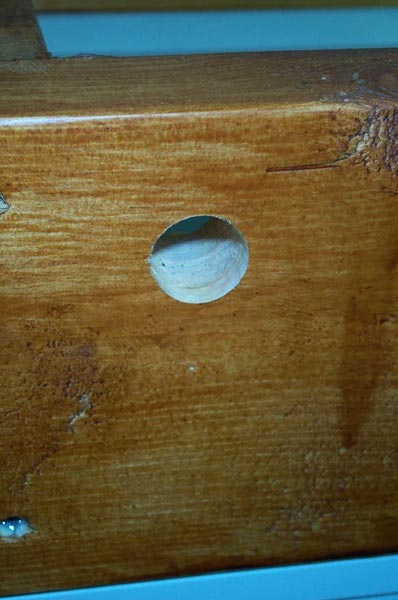
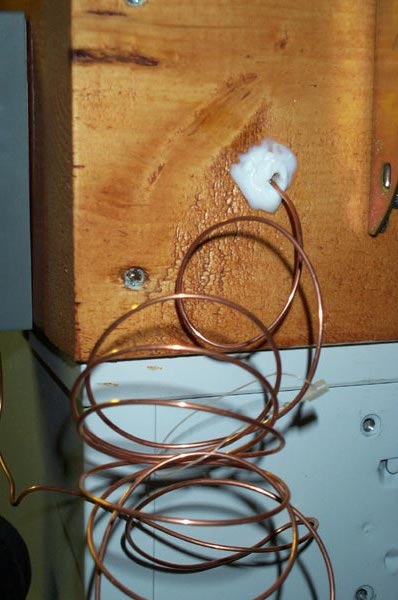
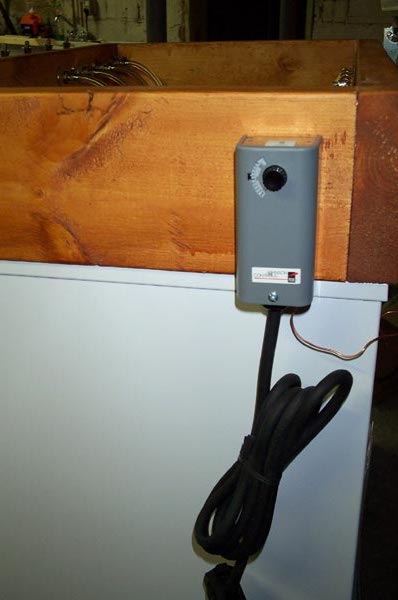
Since I didn’t want my beer to freeze inside the freezer, it was
then time to install the temperature controller. After measuring
the distance between the mounting holes on the back of the
controller, I used 4 screws to attach the controller to the collar.
I then drilled a hole in the back of the freezer just big enough for
the probe to fit inside the freezer. You want the probe to be
suspended rather than be touching the metal sides of the freezer.
Once I had the probe positioned, I used a good amount of silicone to
seal up the hole.
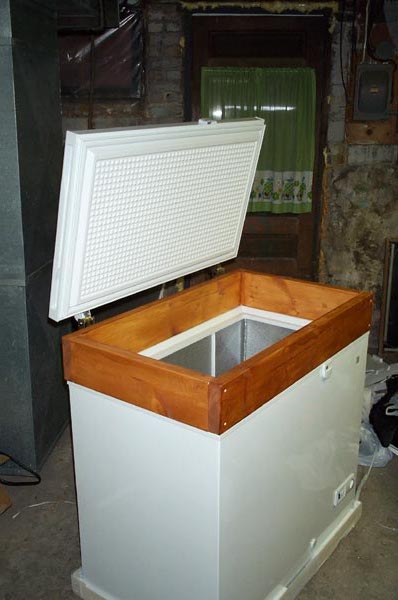
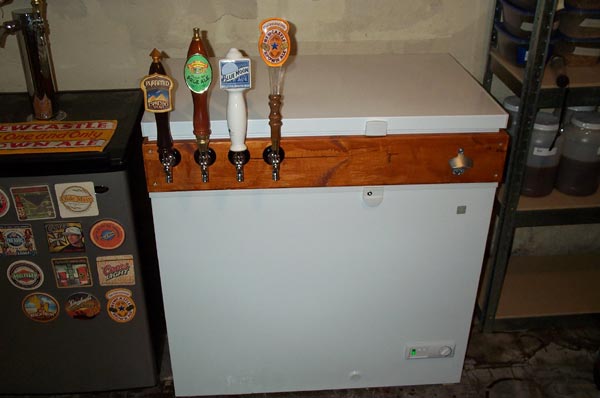
Now that everything had been installed, I moved the kegerator to its
final location and set the temperature controller to 38 degrees. I
plugged in the power and the compressor turned on. The freezer
cooled down very quickly and seemed to be at the right temperature.
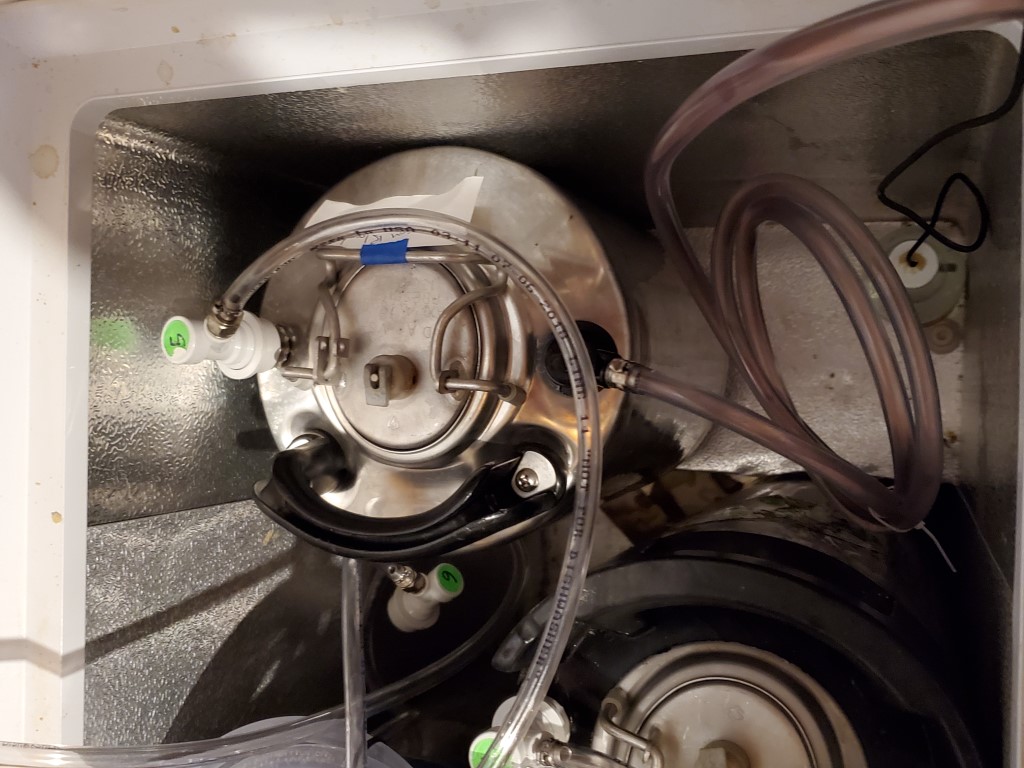
I already had 5 kegs waiting to go in the freezer, so I picked out 4
to be the christening beers. My Goldings Stout, Winter Warmer,
Belgian Strong Dark Ale, and Brown Ale all went into the kegerator
and I hooked up the CO2. I mixed up half a keg of Idophor
sanitizing solution and ran it through all the beer lines so they
would be ready to go. Now all I have to do is wait.
|


.jpg)
.jpg)
.jpg)
.jpg)
.jpg)
.jpg)
.jpg)
.jpg)
.jpg)
.jpg)