|
After reading about home toasting grains in Randy Mosher's
"Radical Brewing," I figured that I'd give it a try. Here's
what I ended up doing:
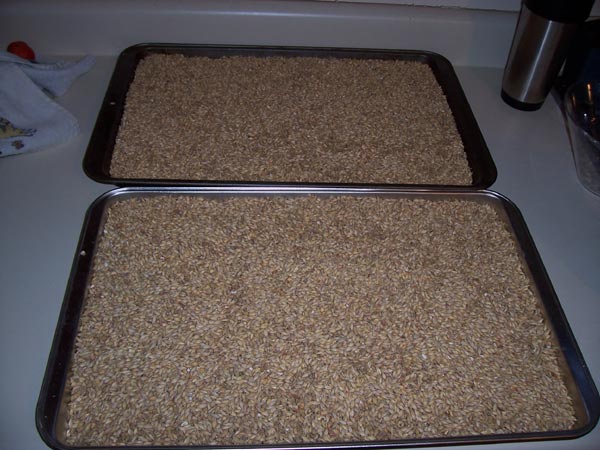
Put your grain on a cookie sheet so that it's less than 1" deep, and
spread it evenly over the entire surface. Heat your oven to
the desired temperature and put in the grains. Here's a chart
of what temperatures and times I used when toasting/roasting my
grains;
| Grain Used |
Temperature |
Time |
| Rahr 2-row Pale Malt |
350 |
23 minutes |
| Rahr 2-row Pale Malt |
350 |
50 minutes |
| Simpson's Golden Promise |
400 |
50 minutes |
|
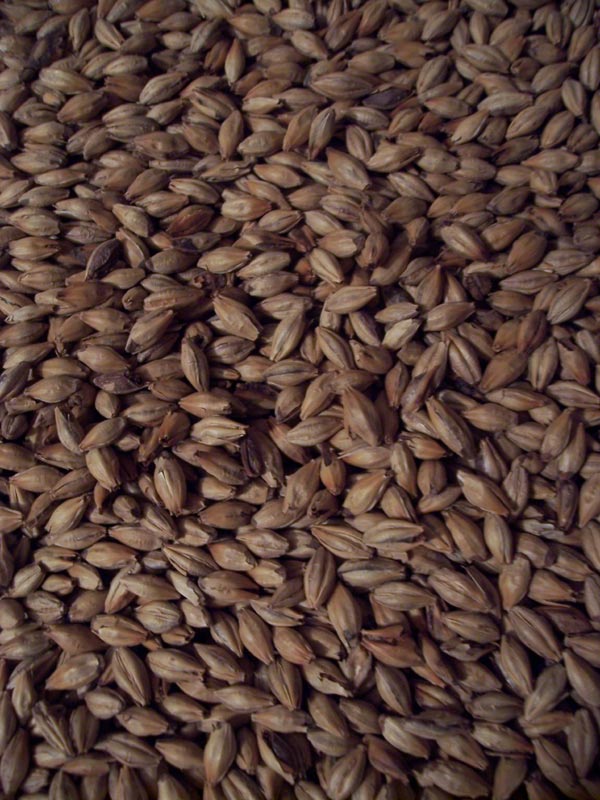
Rahr - 350º - 23 min |
Rahr - 350º - 50 min |
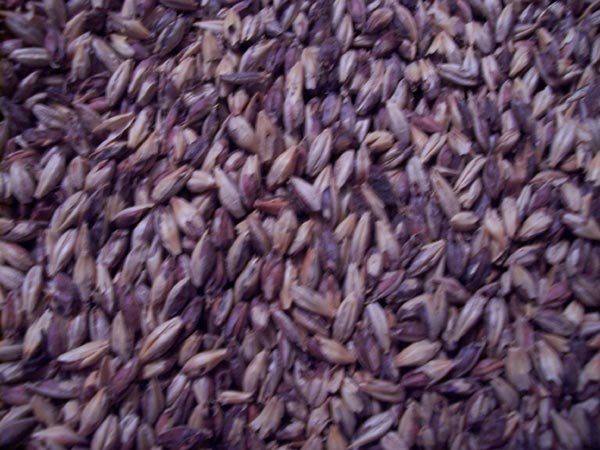
GP - 400º - 50 min |
As you can see from the pictures above, each temperature and time
combination produced a different looking (and tasting) final
product. I've got some commercial brown malt on hand, and the
Golden Promise roasted at 400 degrees for 50 minutes looks almost
spot-on.
After your grains have cooled, be sure to store them in paper
bags for 2-3 weeks before using them. This will help some of
the unwanted flavors out-gas and the roasty/toasty flavors will be
much more mellow. |