|
Mash Tun -
Build Your Own!!!
The first piece
of equipment you'll need (or want) before going all-grain is
a mash tun. Recently, a lot of people have been using
the Brew in a Bag (BIAB) method, but that requires something
to lift a heavy grain bag out of your kettle (ladder & pully
system), and you also typically get lower efficiency out of
these systems. For my money, the good old mash tun is
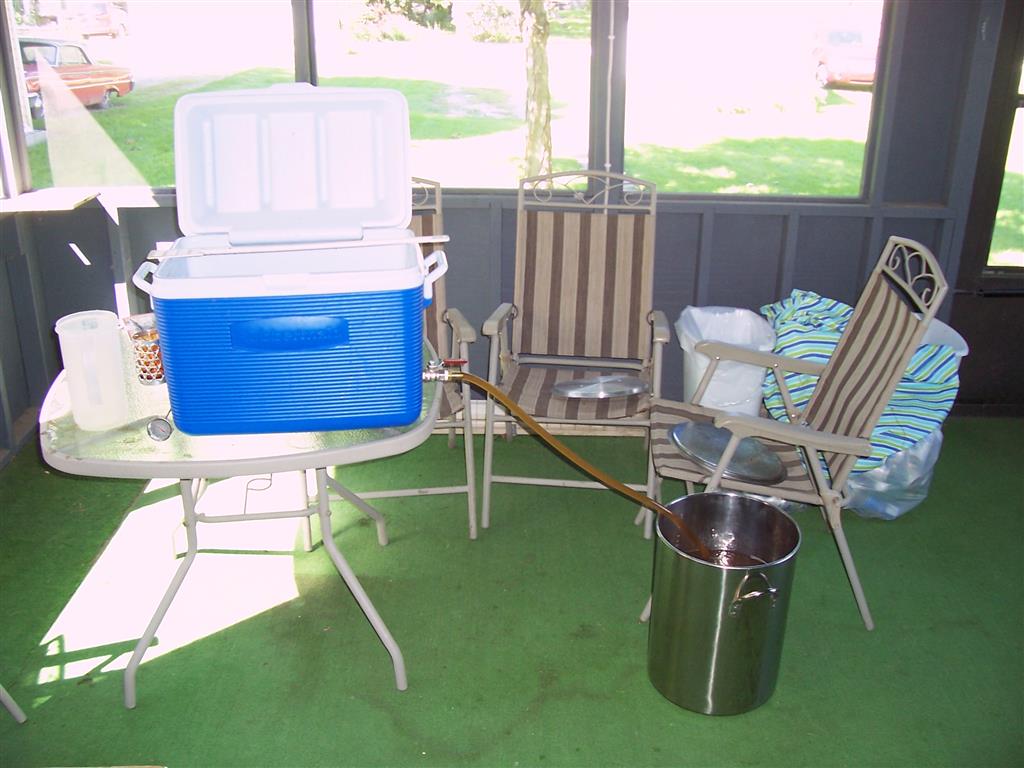
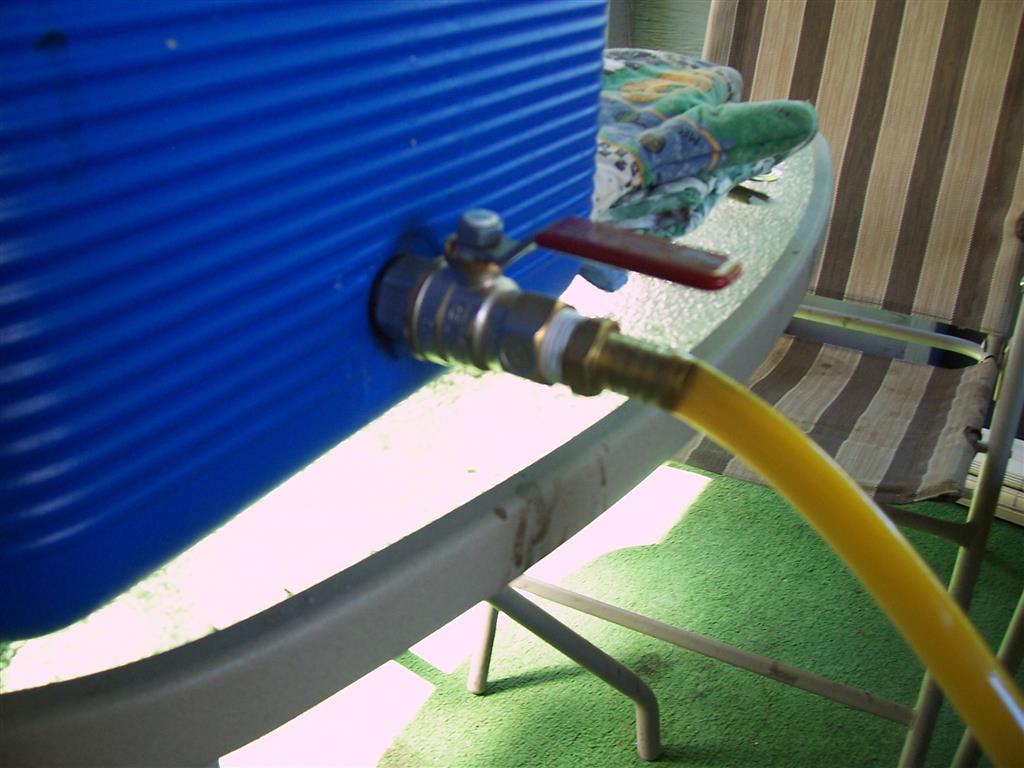
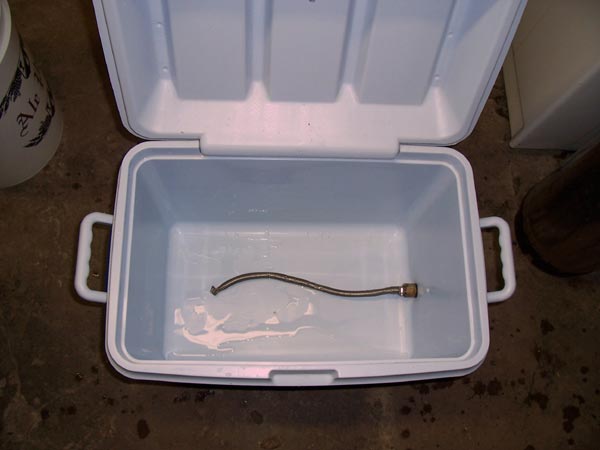
the way to go. Mine is pretty easy to build. All
you need is a cooler with a drain spigot, a ball valve with
a 1/2" barb, threaded 1/2" tubing (length will depend on
your specific cooler, 1/2" barb for the inside of the
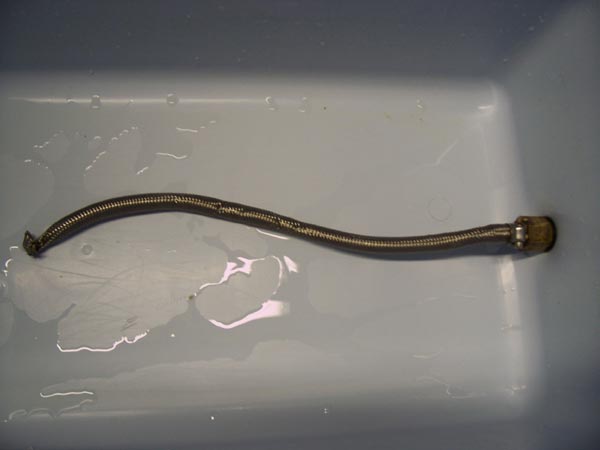
cooler to attach the mash filter, and a toilet supply hose
w/ metal mesh to act as a filter. The AHA has a good
bit of information on batch sparging and building a cooler
mash tun
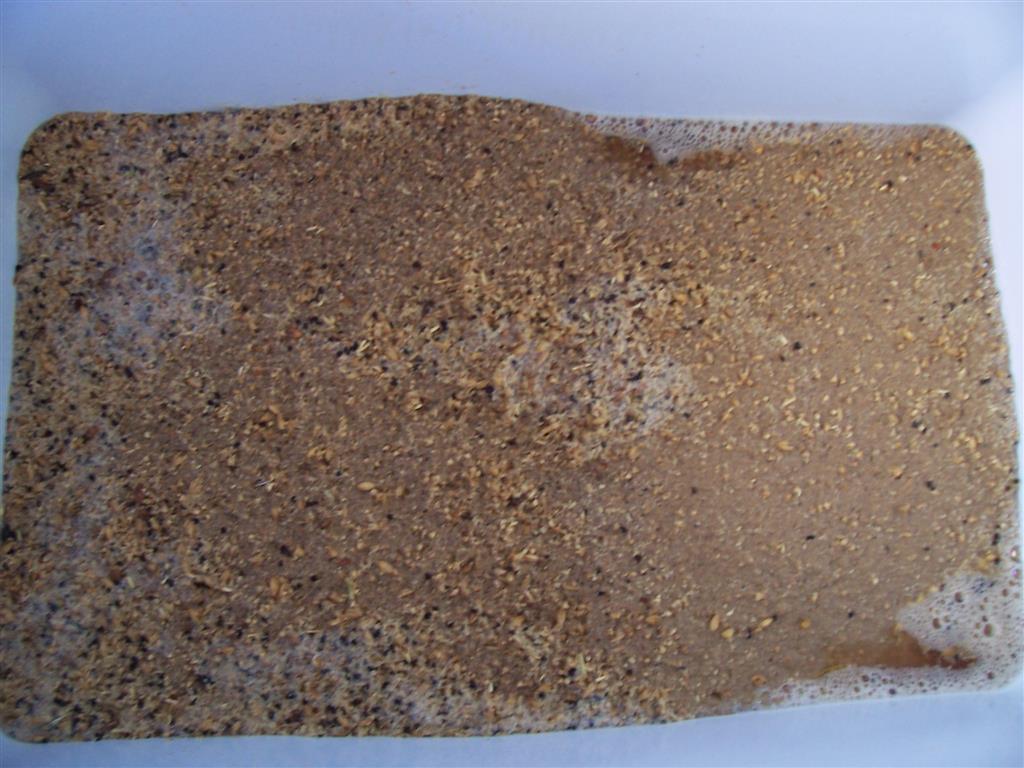
HERE. After you cut the ends off the toilet
supply line, you remove the inner plastic tubing and you're
left with something that resembles a Chinese finger trap.
This fine metal braid acts as a filter for the grain when
you're draining and sparging your grains. I've tried
commercial products like the Bazooka Tube and Bazooka-T, but
I've always gone back to the toilet supply braid after
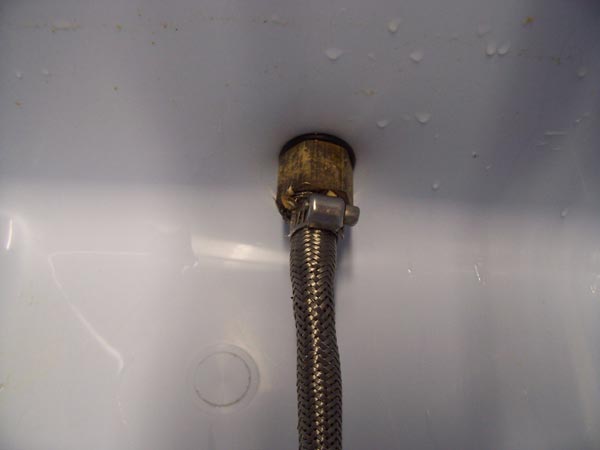
having runoff issues. Just attach the braid to your
1/2" barb with a hose clamp and then fold the end of the
braid over onto itself several times with a pair of pliers.
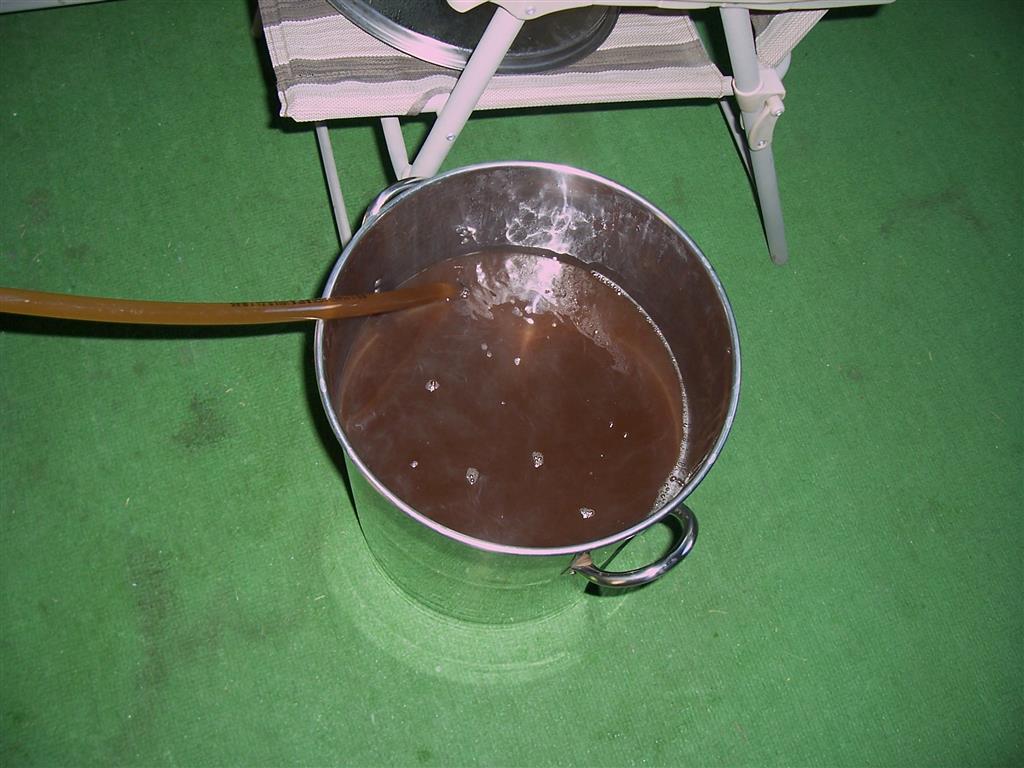
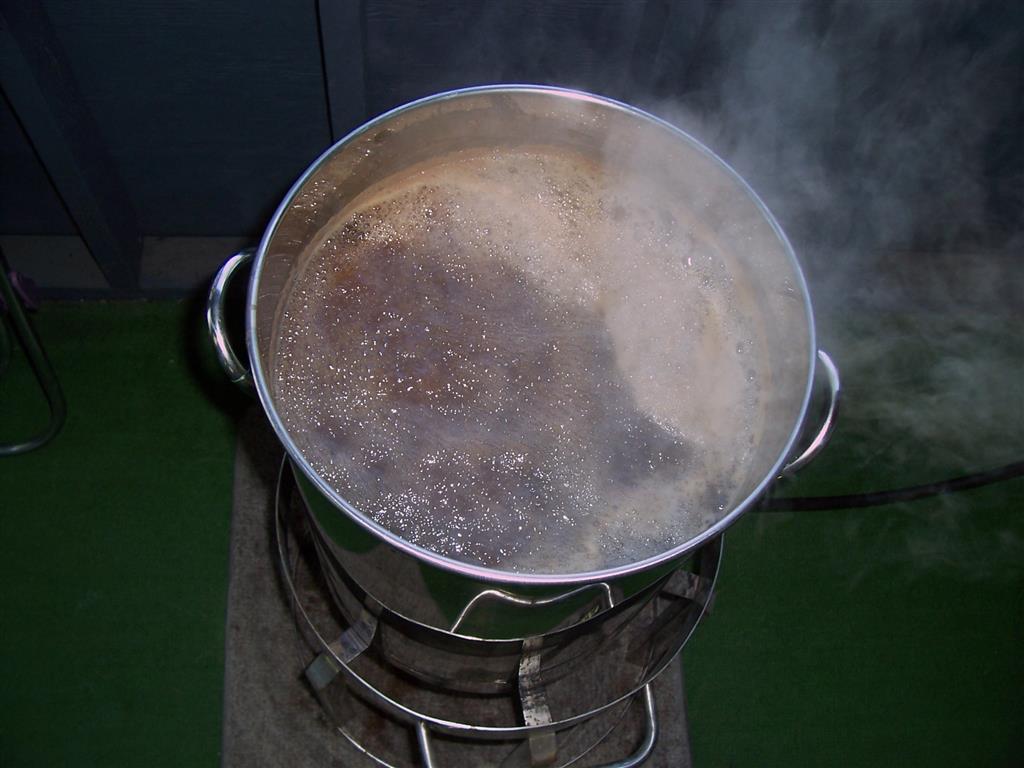
Large Kettles & Burner
Since you'll be collecting enough wort for a 5-gallon batch
of beer + your boil off volume (usually 1-1.5 gallons),
you'll probably need to get a larger kettle than you've been
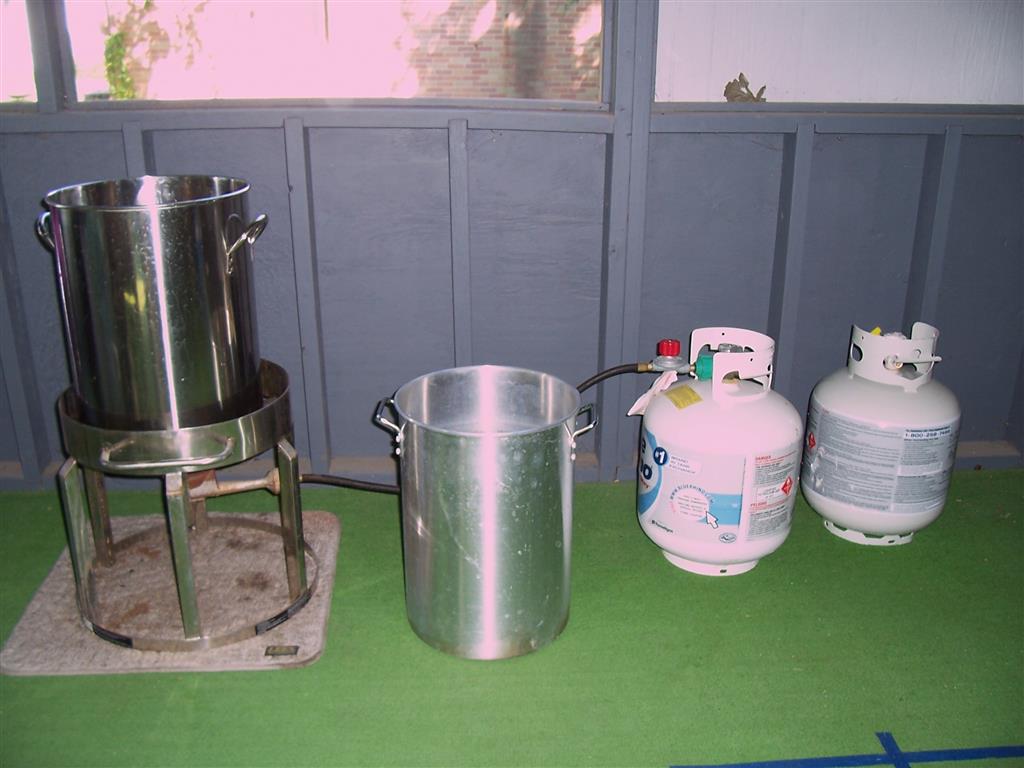
using for extract or partial-mash. Around the
holidays, you can usually find some burner & pot turkey
fryer deals, but they may not be the best quality. I
would suggest the burner (I have 2) and kettle below.
While you can use an aluminum pot for brewing, stainless
steel will always be better. You may also need to buy
a slightly larger pot to heat your sparge water. If
you have a 5 gallon pot that was used for extract, that
should be big enough. If not, find a cheap 5-6 gallon
pot to use for sparge water or check out the one below.
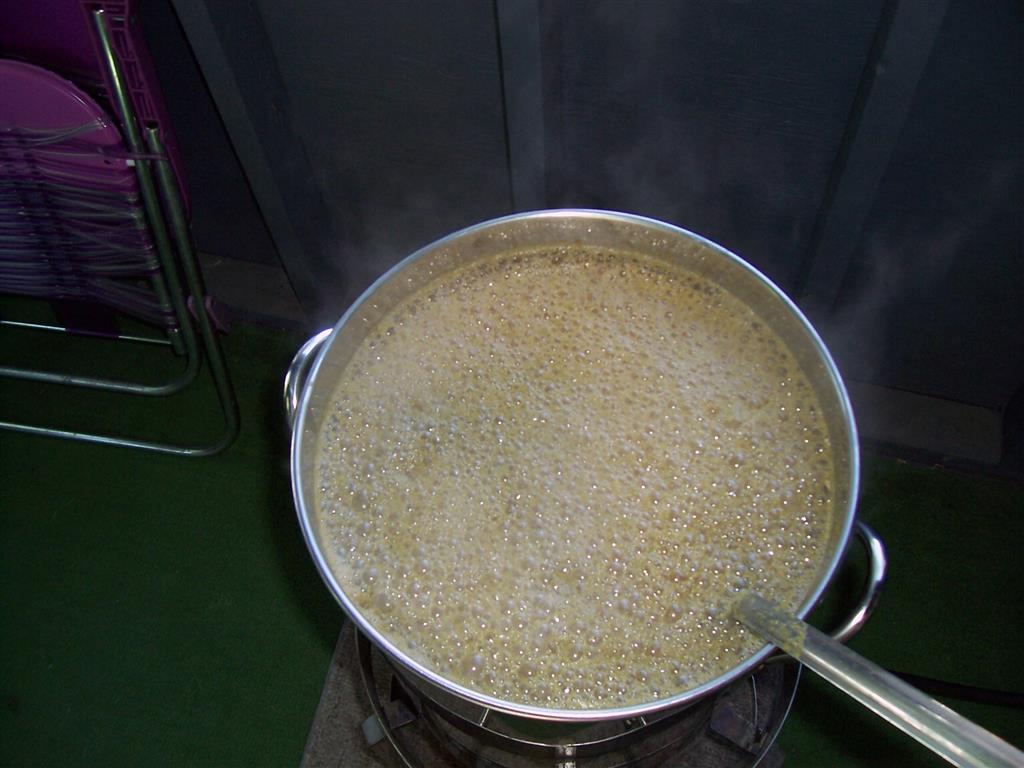
Wort Chiller
Since you'll be boiling the full volume of wort for your
5-gallon batch of beer, you'll need a way to cool down that
larger volume of liquid more efficiently. A copper or
stainless
immersion chiller is perfect for 5-gallon batches and will
last you basically forever. You could potentially get
away with using a water bath, ice cubes, and stirring, but
this method will cool your wort down to pitching
temperatures within 20-30 minutes typically, depending on
your ground water temperature.
Optional Equipment (But HIGHLY Recommended)
Refractometer
- This device can easily measure the specific gravity (SG)
of your wort with only using a few drops. It will
automatically correct for temperature, so you don't have to
wait for a hydrometer sample to cool down. It's really
an invaluable tool for AG brewing, especially when you're
new to the process and trying to make your system more
efficiently and predictable. When I first built my
system, I would take a reading of my first runnings, my
second runnings, and the combined total wort volume.
This allowed me to tweak the crush of my grain, how much
water I was mashing with vs. staprging with, and dial in the
repeatibility of my system by considering elements like
total grain weight and expected SG.
Grain Mill - You can usually get your grains crushed
from your local homebrew store (LHBS) or online vendors, but
gap of their mill and the crush you get may not be ideal for
all-grain brewing. To have total control over your
beer, I would highly recommend you purchase a grain mill.
This will also allow you to buy grain in bulk and crush it
when needed. This will ensure you're grain is as fresh
as possible. After grain is crushed, it's more
susceptible to oxidization and staling. After wearing
out my Barley Crusher after a few years of heavy brewing, I
upgraded to a Monster Mill MM2
and have been very happy with it. The initial
investment is a bit higher on this mill, so I've also
included a link HERE to a less expensive mill that should
work well for most brewers.
|